Overview
Custom Fields in commercebuild let you add extra product details and display them where they matter most, on Product pages, Category/Search results, and the Cart. This guide covers how to create Custom Fields, enable them on specific products, and show them across your webstore. Once set up, you can control where each field appears, adjust its position on the page, and enable text-based fields for search so customers can find products more easily. Let’s kick things off by looking at how you can create a Custom Field.
Create Your Custom Fields
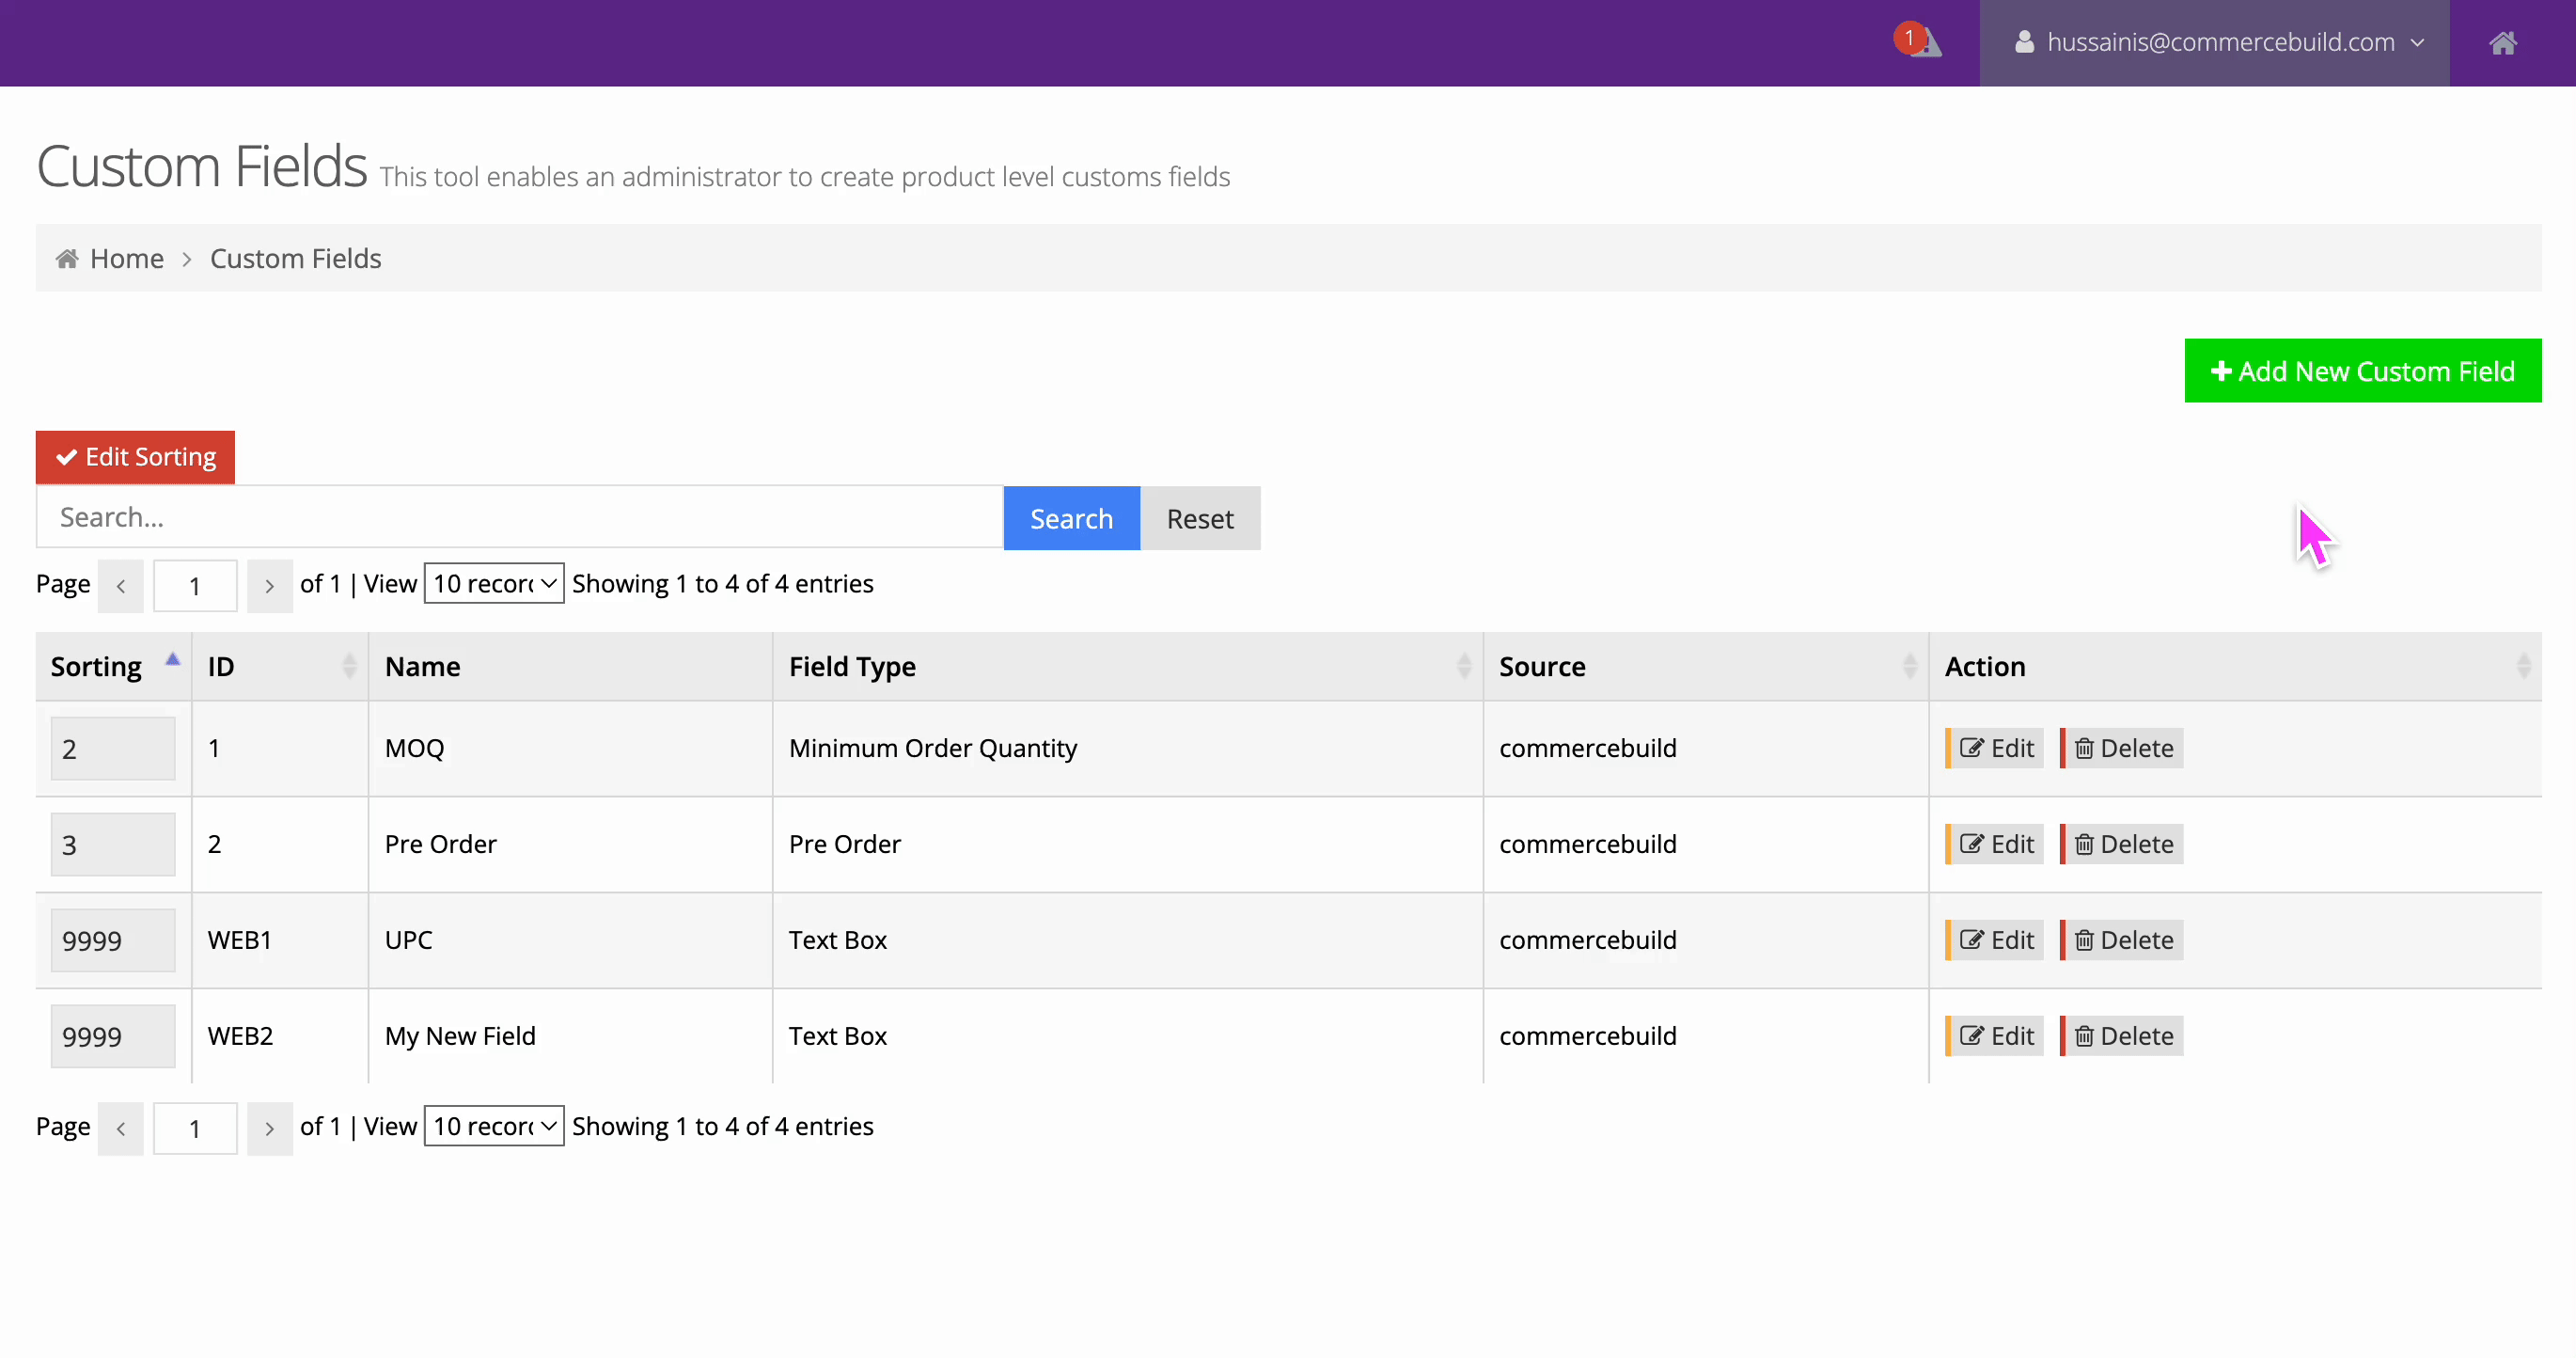
Your custom fields can be configured by navigating to "Catalog → Product Settings → Custom Fields"
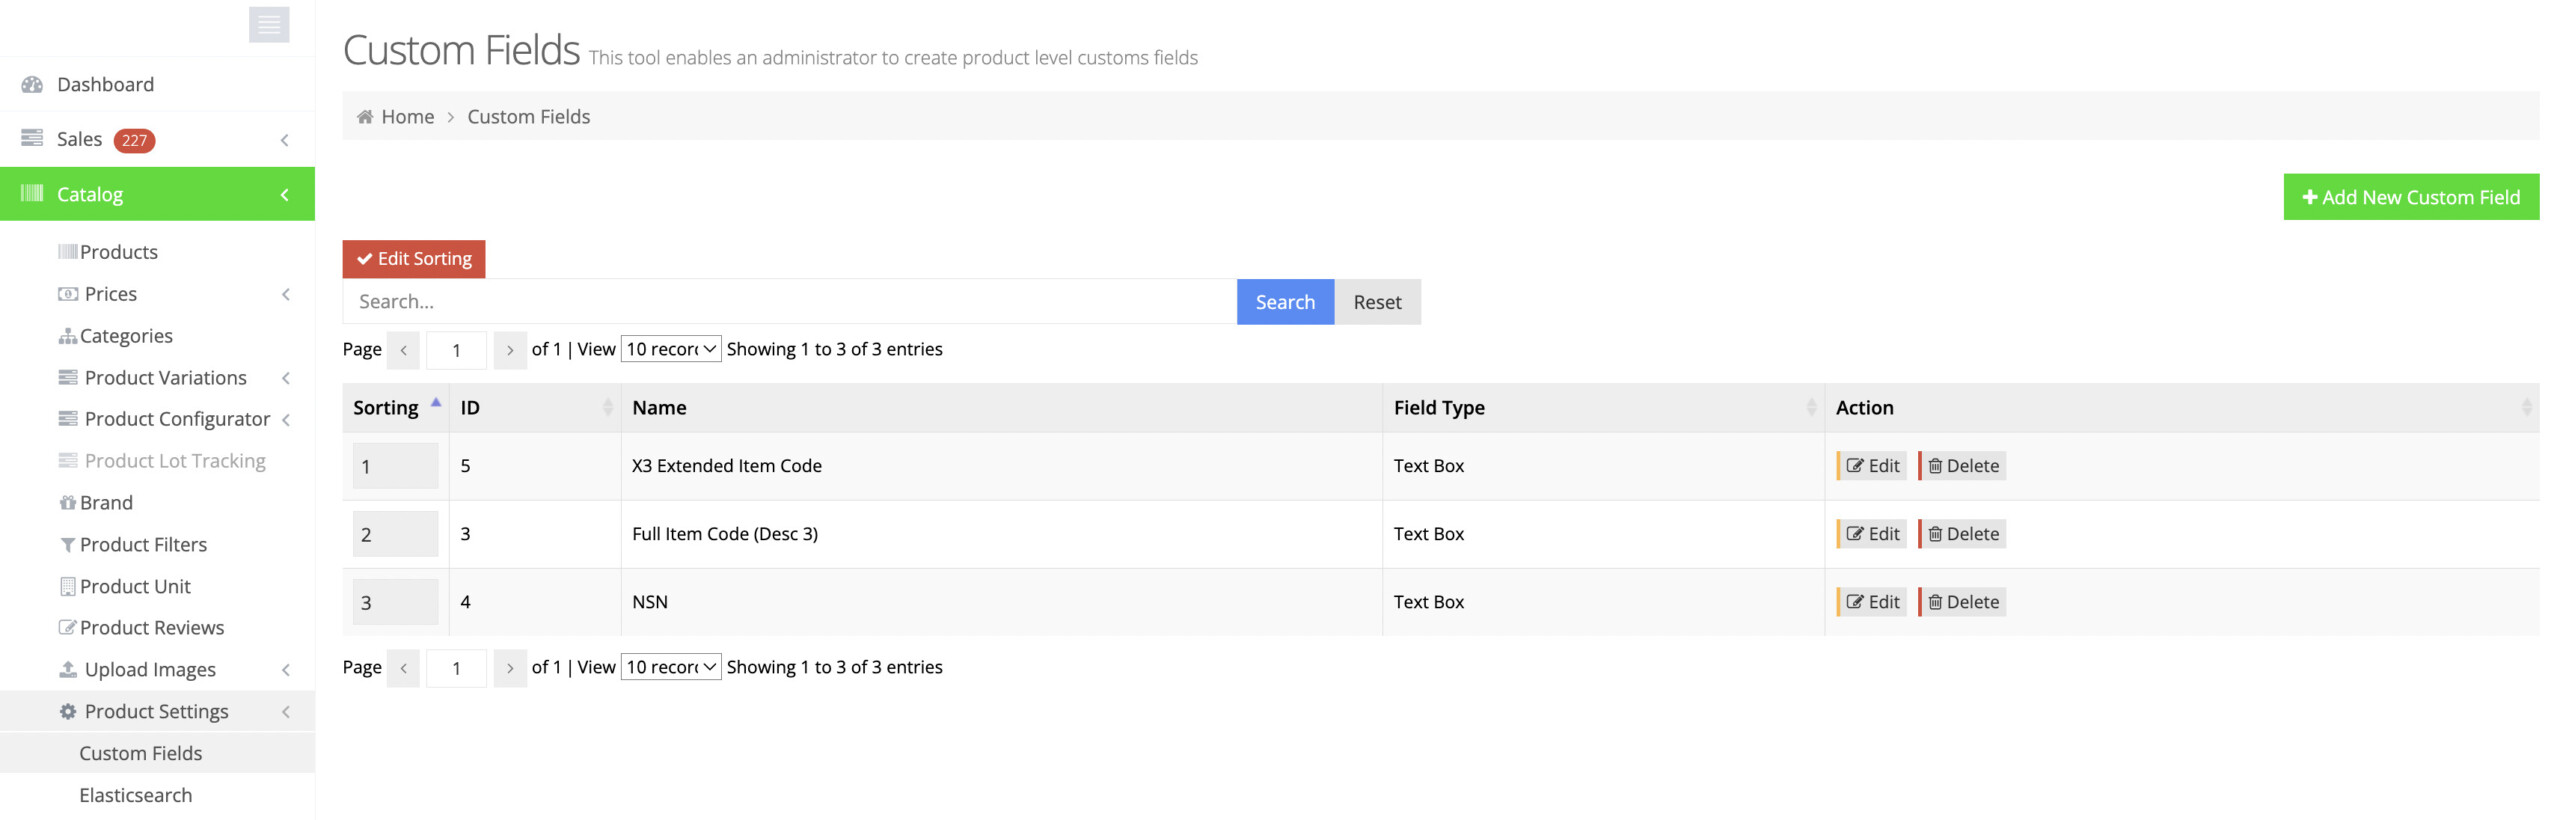
Press the "+ Add New Custom Field" button and complete the settings.
Enable Your Custom Fields
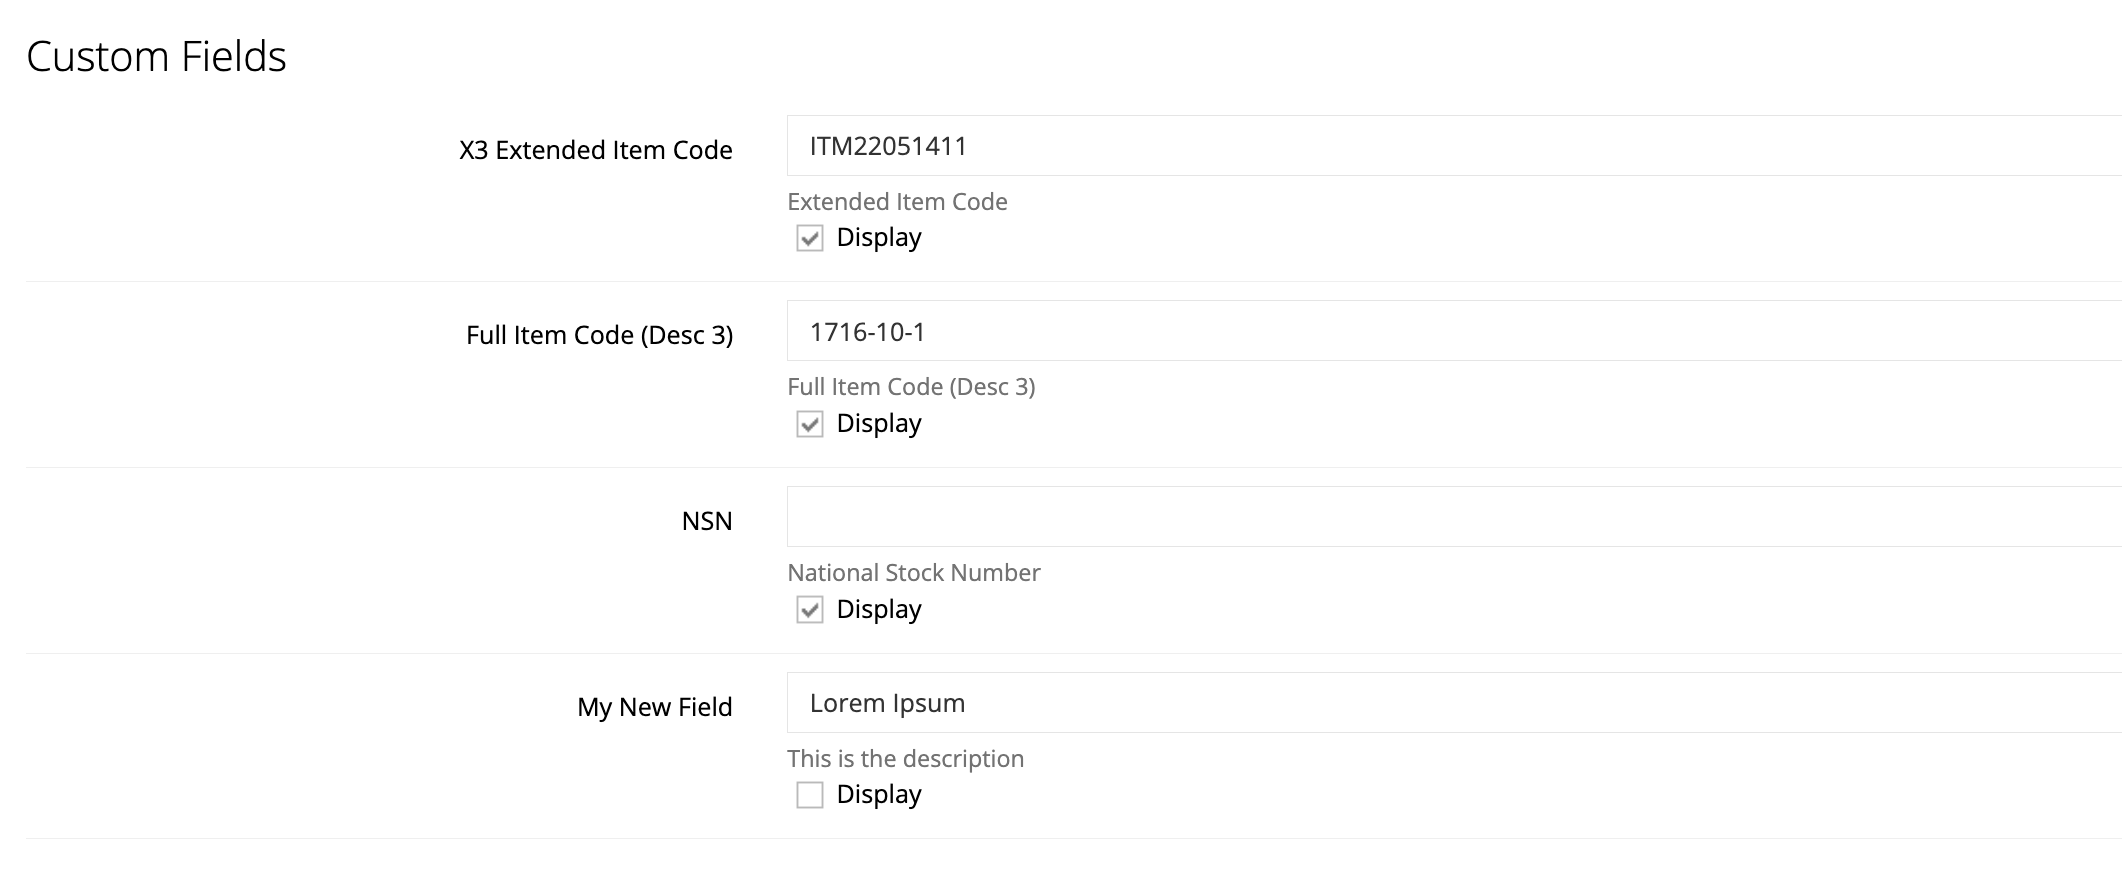
Your next step is to edit your products and enable your custom field(s) on the products where they should appear.
Displaying Custom Fields
Once your Custom Fields are created and you have added data to those fields, then you can display them in various areas across the web store. In this guide, we'll show you how you can enable them for your Product, Category, Search and Cart pages.
- Go to Content Management > Default Pages and click Edit for the page in question. Note that custom fields can only be enabled on the Product, Category/Search and Cart pages.
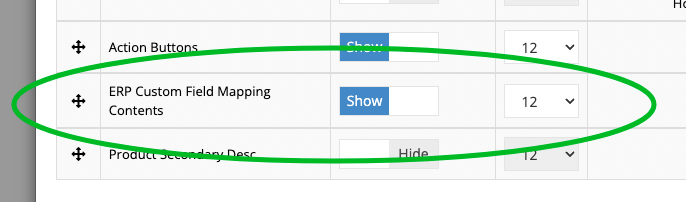
- Next, once on your default Product page, locate the Product Details Module you'd like to use to display the Custom Fields.
- Toggle the Display to Show for ERP Custom Field Mappings Contents. Ensure the element is also correctly positioned amongst the rest. You can click the
 (sort) button to achieve this.
Once displayed, the Custom Fields will be visible on the specified pages.
Configuring Search
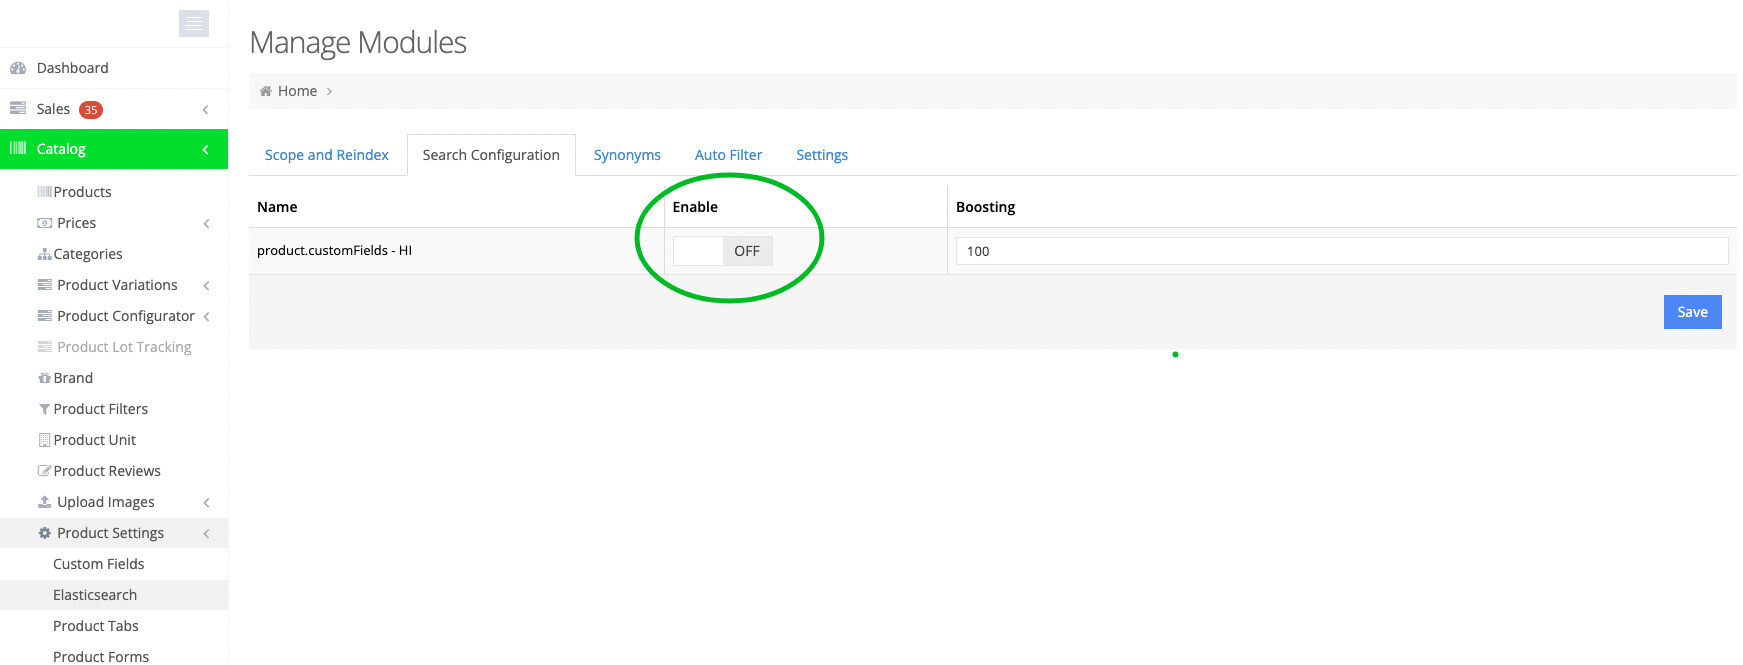
To make your Custom Fields searchable, each text-based field needs to be enabled via Catalog > Product Settings > Elasticsearch > Search Configuration.