By default, your product permalinks are created by appending the item code to the item description, both of which come from your ERP.
However, if you'd like to use custom URLs rather than the system-generated URLs as your product permalinks, you can enable Custom URLs.
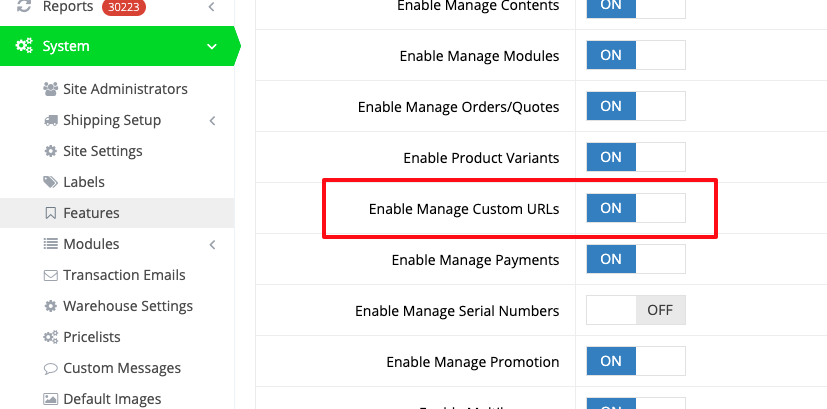
To enable, go to System > Features and toggle on Enable Manage Custom URLs.
Once enabled, you can add custom URLs to your products by going to Catalog > Products and selecting the item you wish to Edit.
On the product edit page, go to Meta and locate the Custom URL field.
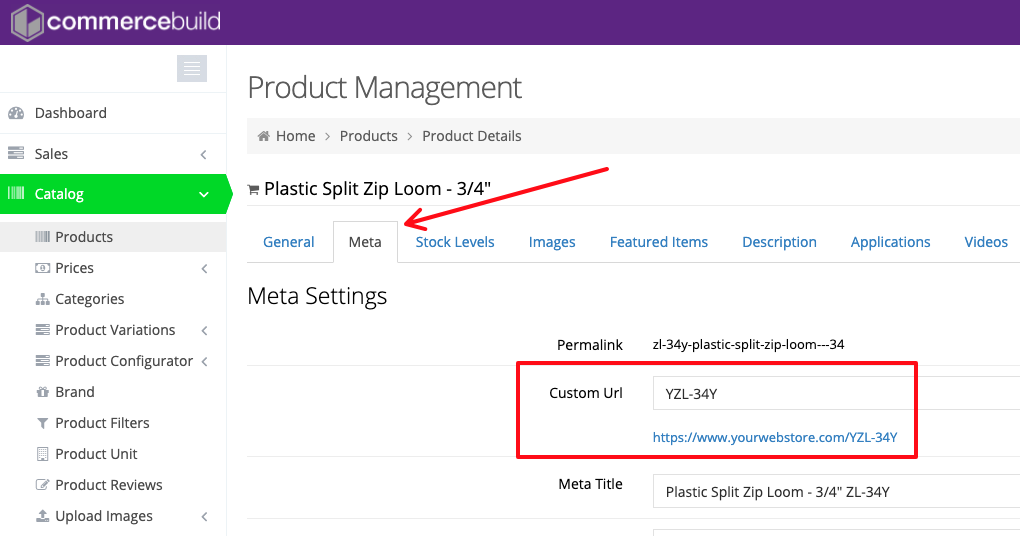
After you've entered your custom URL, Save your changes. Your new custom URL should be in effect.
Variant Products
If your web store has variant products and child variants do not have their respective product pages, then Custom URLs can be set for the "parent" variant product.
For this, navigate to Catalog > Product Variations > Variant Products. Search for your variant product and click Edit.
On the product edit page, go to Meta and locate the Custom URL field.
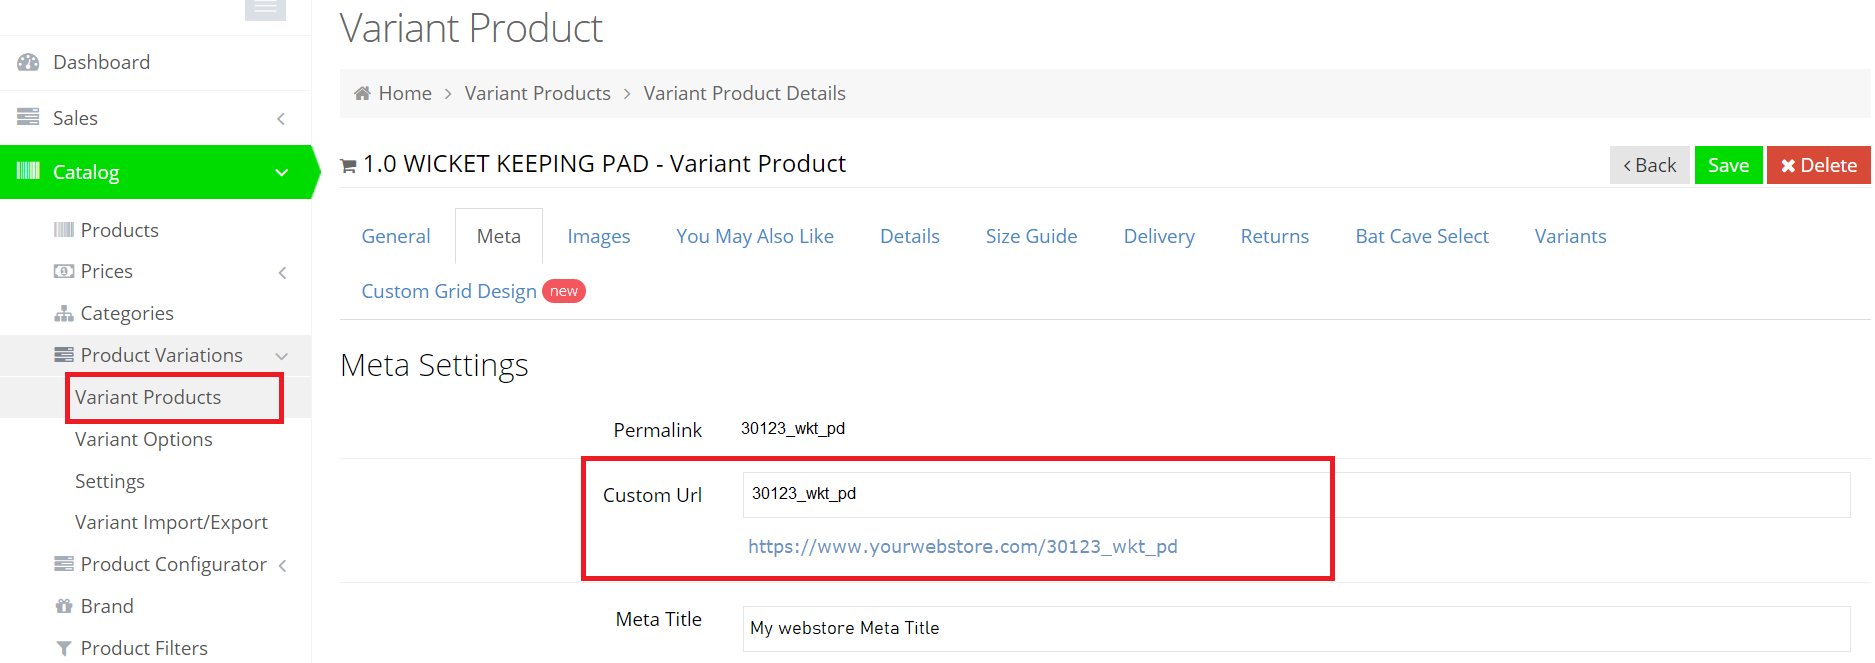
After you Save your changes, the new Custom URL should be in effect for your variant product.
Batch assignment of Custom URLs
Your admin dashboard provides a feature to assign Custom URLs to multiple products. To begin, navigate to Catalog > Products.
Click Tools and select the option Custom URL Setting.

The Product Custom URL dialog box enables you to assign either Item Description or Item Secondary Description as a Custom URL.
All the products will be assigned Custom URLs on click of Populate Now.
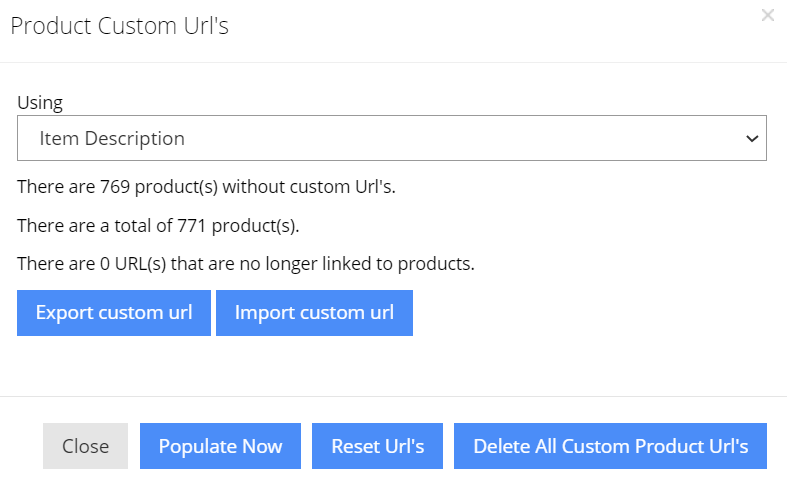
If you wish to assign Custom URLs to only selected products, click Export Custom URL and make edits to the downloaded file.
Next, click Import Custom URL to import the file back.
Additionally, with the Reset URLs option, you can reset the Custom URLs, and with Delete All Custom Product URLs, you can delete Custom URLs.
Variant Products
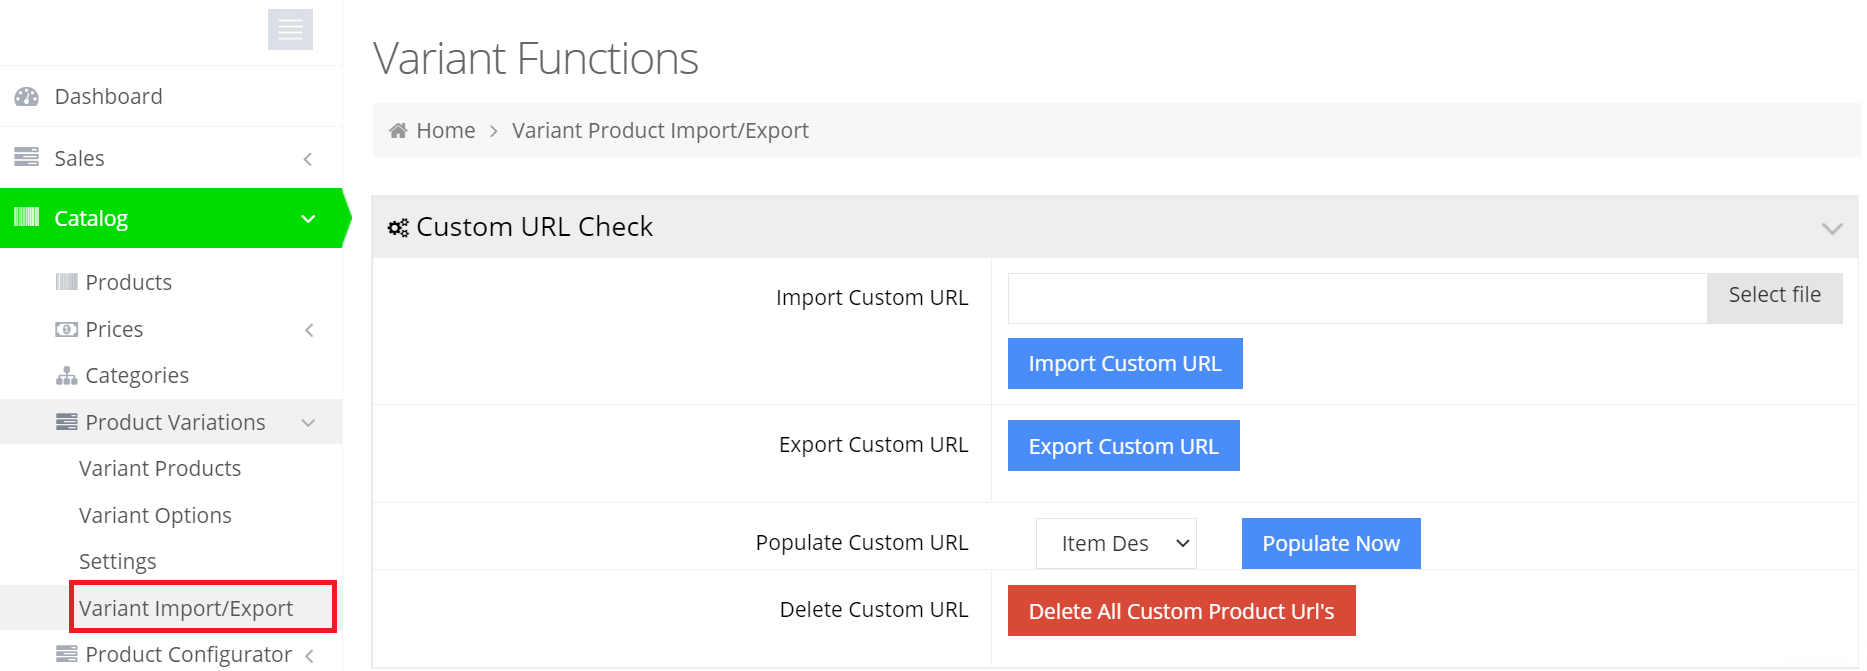
Please note for variant products, bulk assignment of Custom URLs can be achieved by navigating to Catalog > Product Variations > Variant Import/Export.
