- How to create containers
- How to insert modules/content elements
- How to resize the columns
- How to position the containers
How to create containers
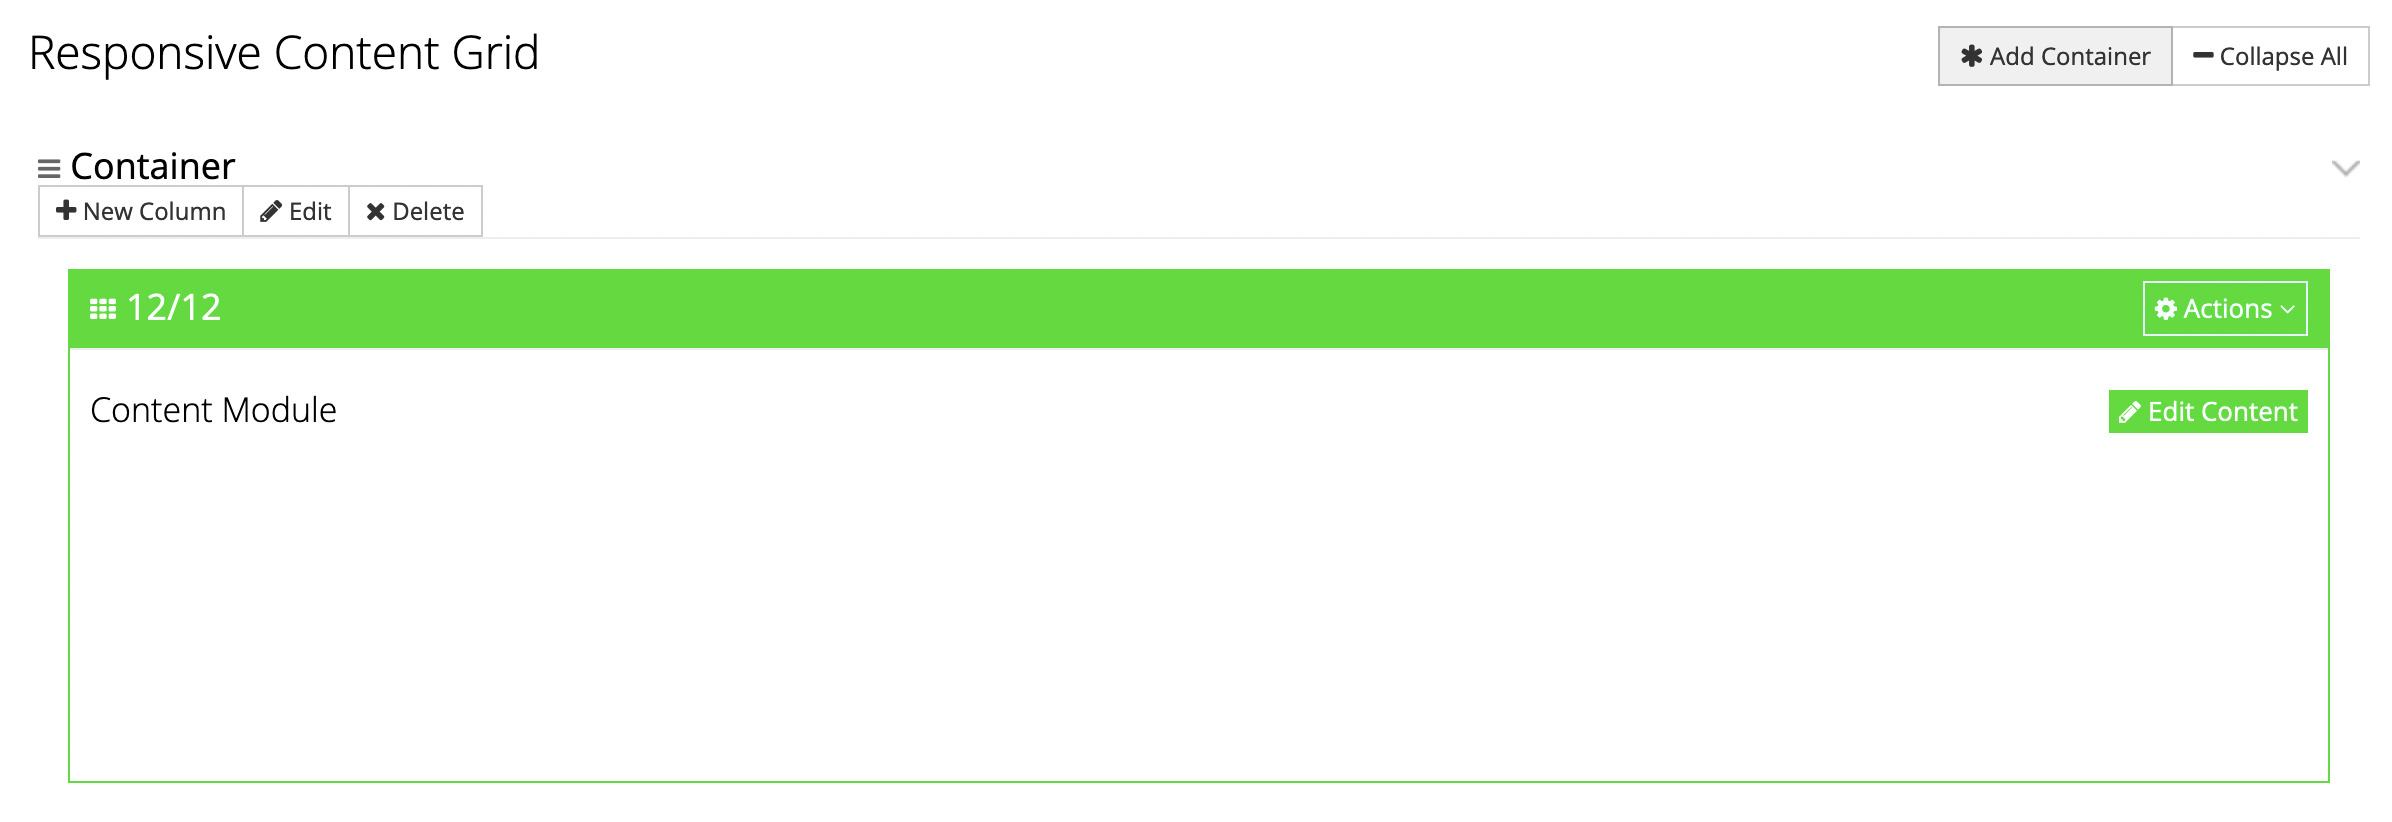
The first step is to edit the page, product, form, or category where you are configuring your content grid. Scroll down and press the "Add Container" button.
That will create a new container into which you can insert columns/modules. By default, it will insert a "Content Module" at a grid width of 12/12.

How to insert modules/content elements
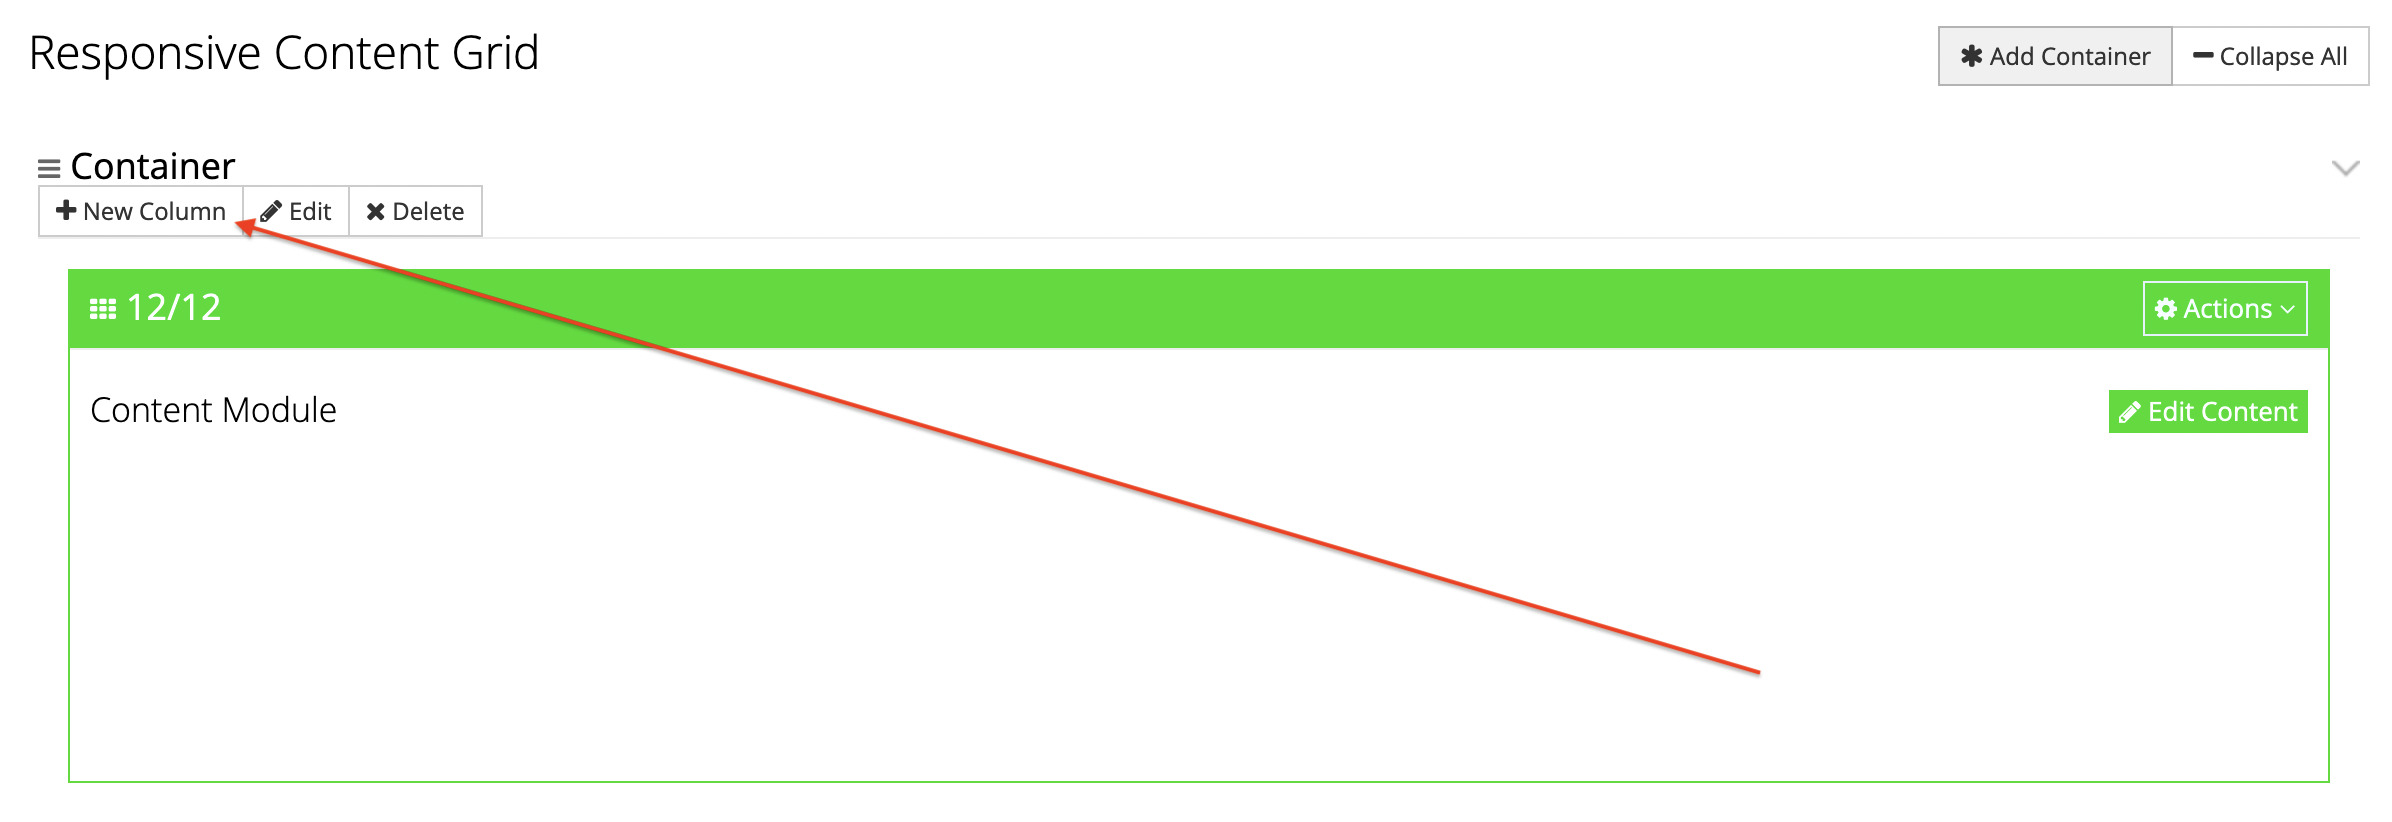
To insert a new column/module into your container, press the "New Column" button.

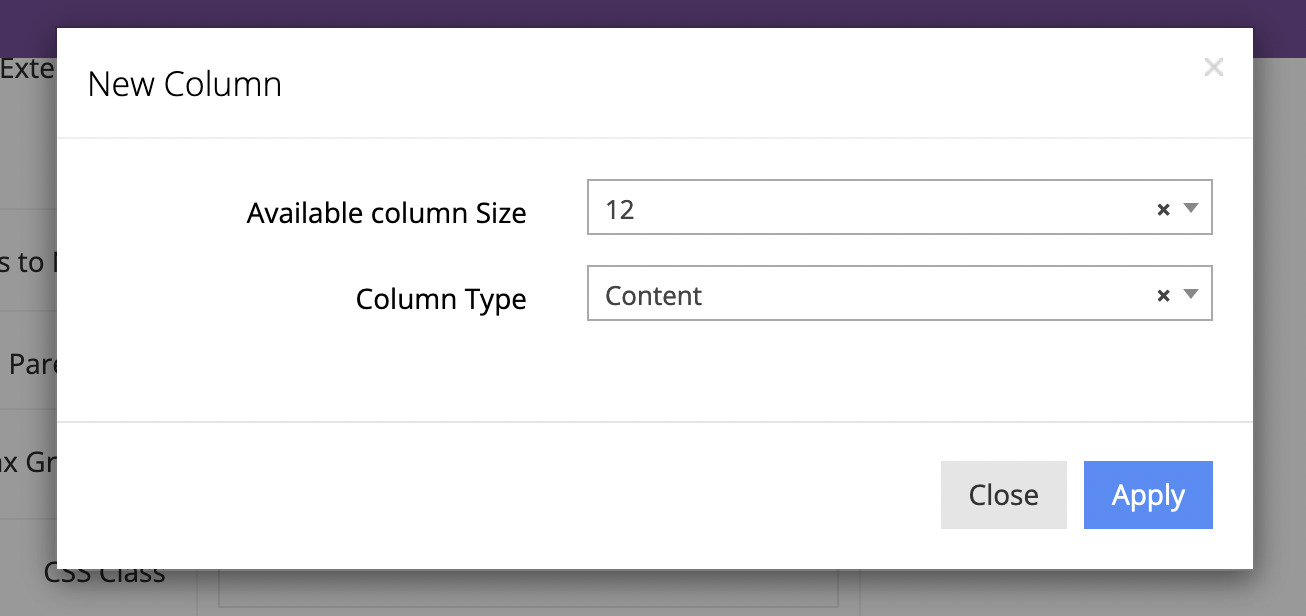
That will open a popup window where you can select how wide you want your column to be, and what type of content it should contain. Press the "Apply" button when finished.

How to resize the columns
To resize a column, press the "Actions" button in its upper-right corner. From there, select "Edit Column".

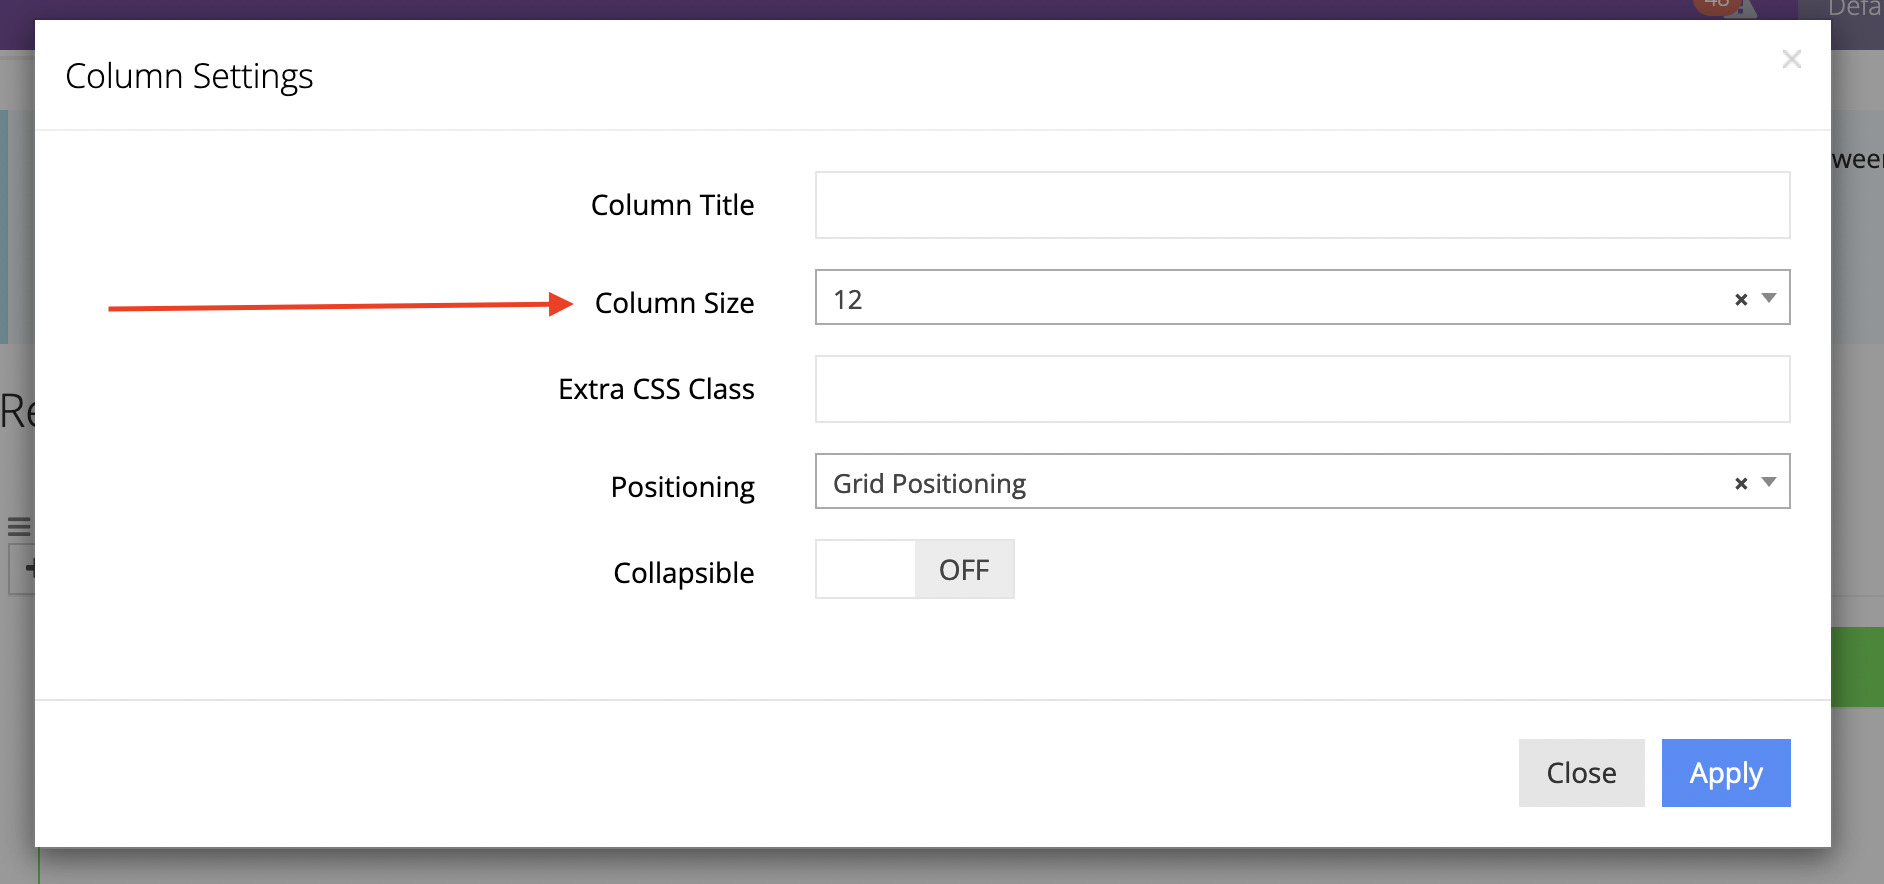
That will open a popup window from which you can select the desired size for the column under the "Column Size" select menu. Press "Apply" when finished.

How to position the columns
To postion/sort the columns, simply drag-and-drop them into the order you prefer. Watch this short video on how that is done:

